Page 2 of 3
Posted: Fri Jun 24, 2016 7:43 pm
by Tunneruk
I'm looking forward to cracking on with the rest of it tomorrow!
Posted: Fri Jun 24, 2016 8:18 pm
by nab 301
I love the colour scheme and I wish I could repeat what you did with the exhaust stud!!
Posted: Sat Jun 25, 2016 3:42 am
by dave the german
I've got a bottle of OPtiglanz in the garage but never used it yet - Roadburner, was yours from Hein Gericke Carlisle by any chance?

Posted: Sun Jun 26, 2016 6:19 pm
by roadburner
dave the german wrote:I've got a bottle of OPtiglanz in the garage but never used it yet - Roadburner, was yours from Hein Gericke Carlisle by any chance?
How did you guess?

I finally used the last of my oil supplies from when i was working there about 3 months ago, the joy of running the uk dangerous goods warehouse was that I got to keep quite a bit of the damaged stock, so I ended up with a load of oil and cleaners etc.
Posted: Tue Jun 28, 2016 9:54 pm
by Tunneruk
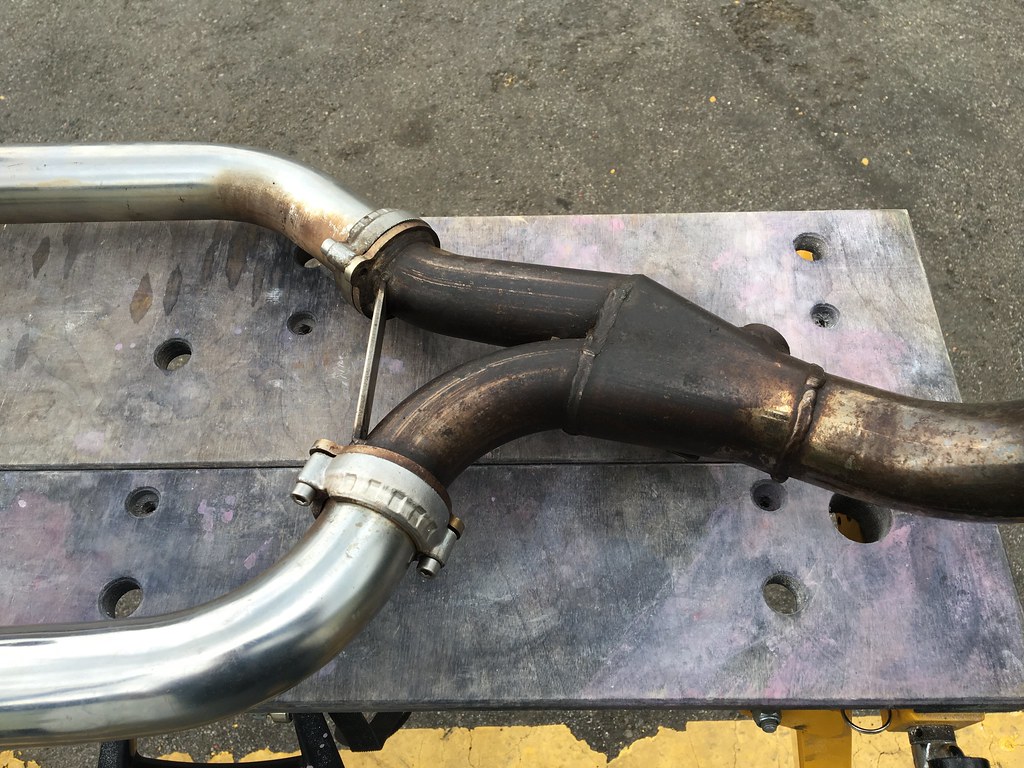
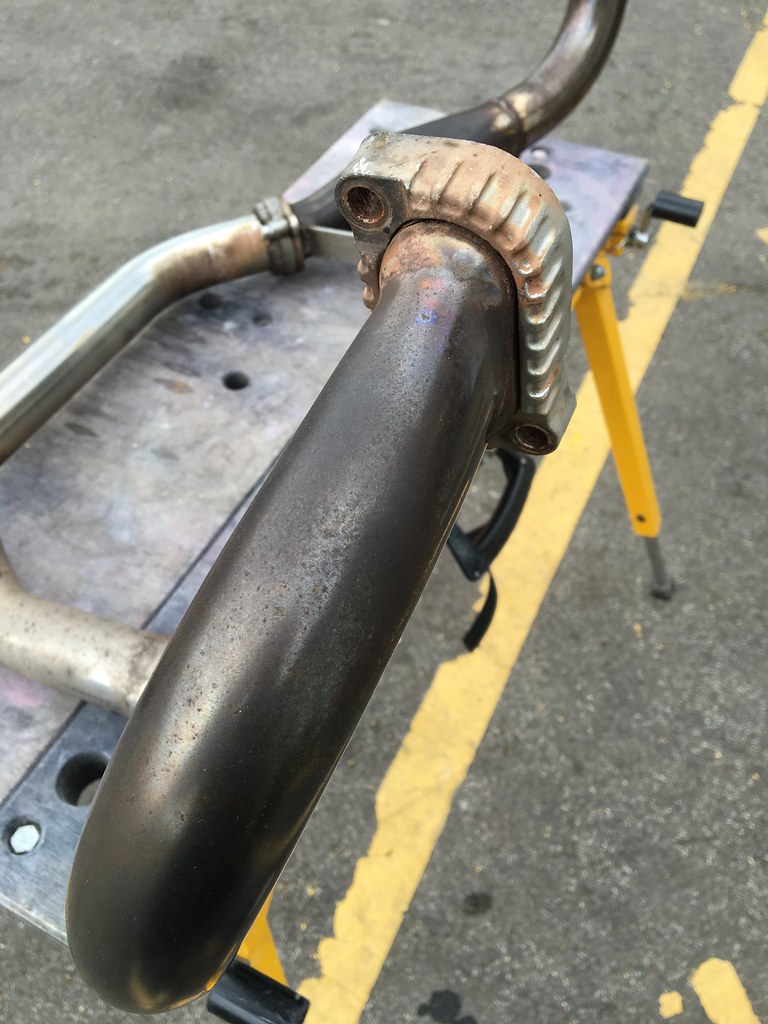
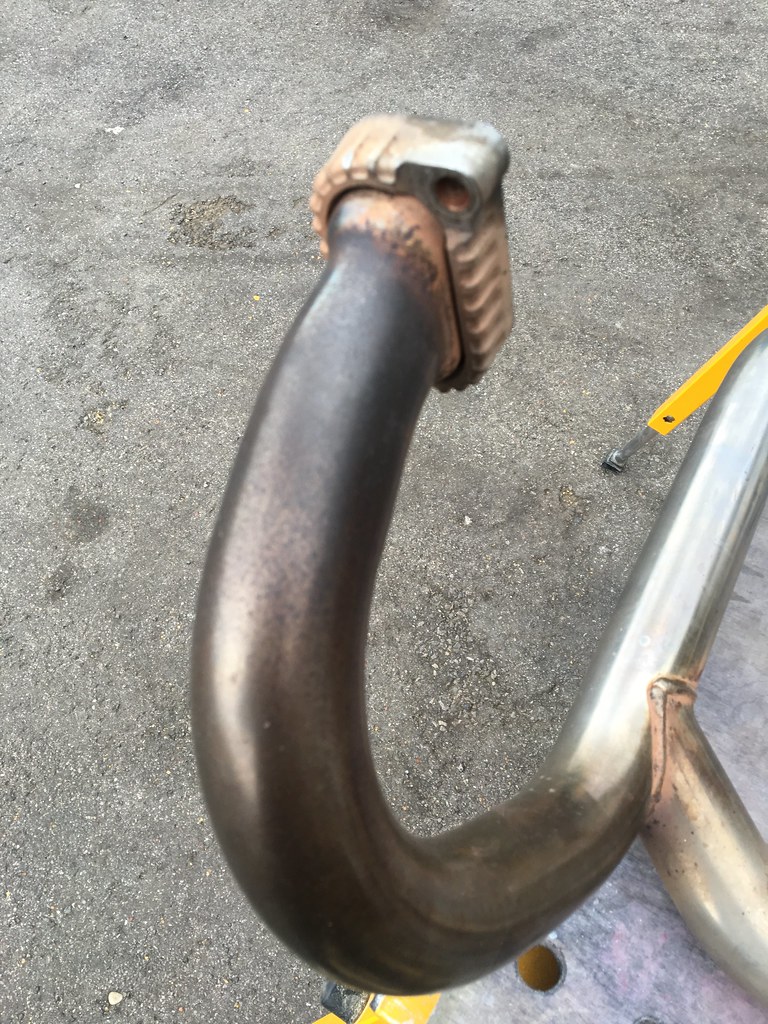
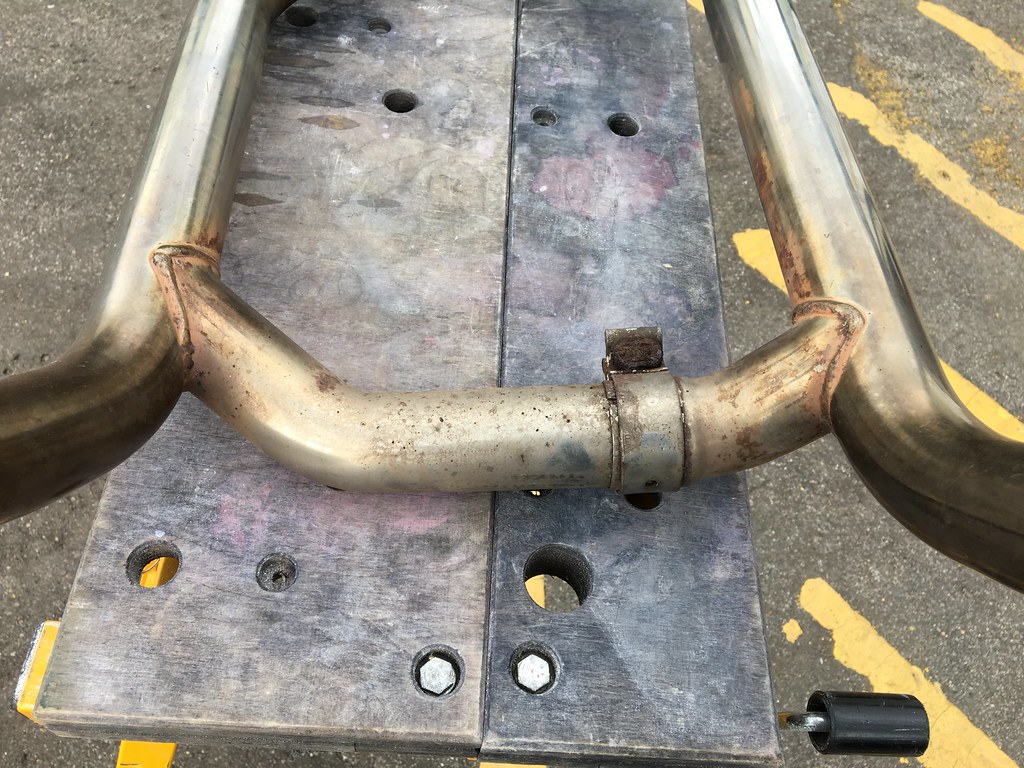
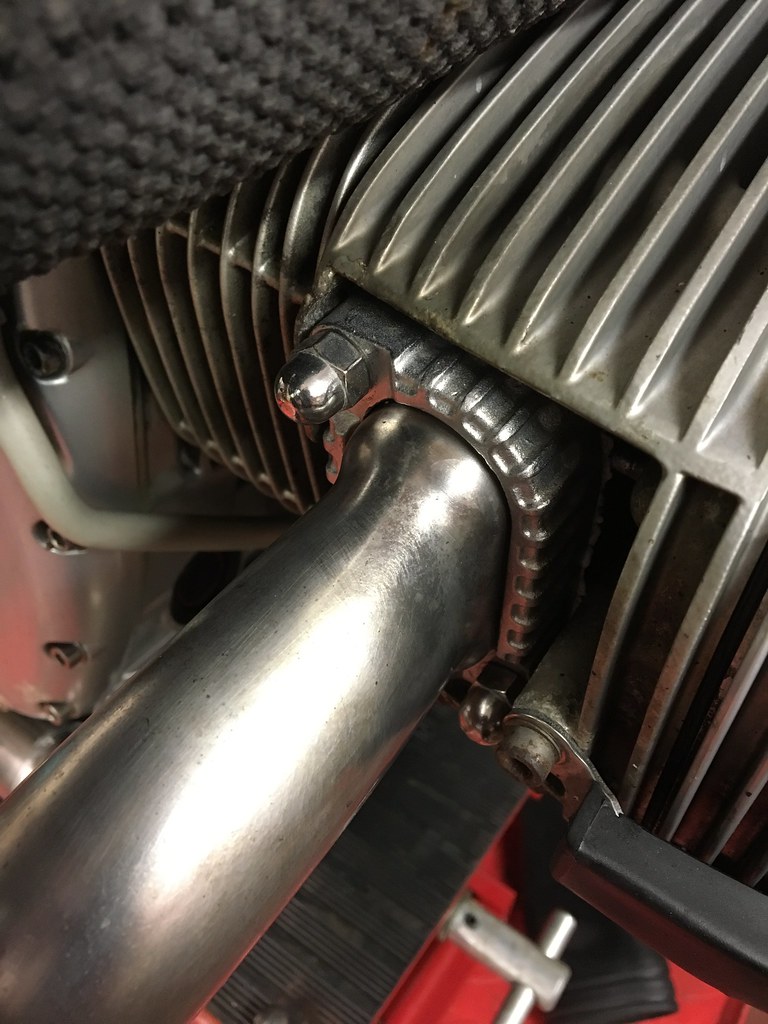
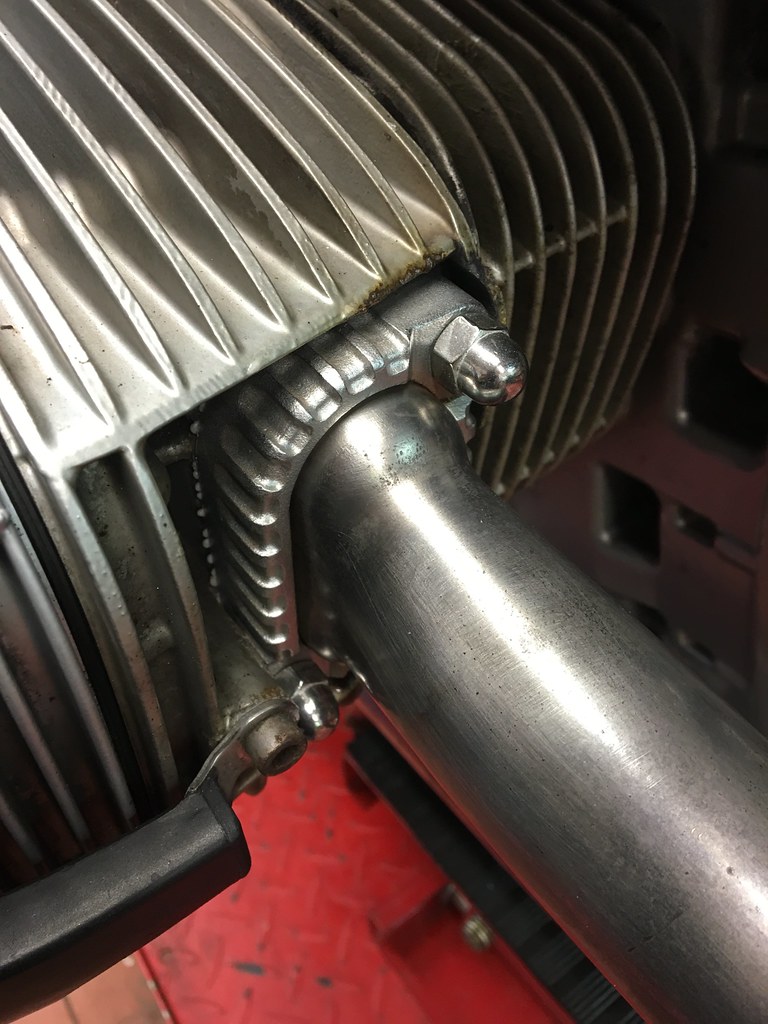
So my Laser 'Y' piece arrived late last week, they almost never come up for sale so I was very lucky to snag it when it came up on Evilbay.
Although it's in perfect mechanical condition it's fair to say it was cosmetically challenged. I did some research and decided to buy some Optiglanz from Germany. It arrived today so I gave it a whirl. It's pretty impressive stuff, it's not effortless by any stretch but I can't think of another off the shelf product to beat it! I sponged it on, left it 5 minutes and used a green scourer to scrub away the grime. Any really tough bits (around welds for example) I used a stainless steel bristled wire brush. They're not perfect by a long way but they look clean and bright. I could have polished them afterwards but I'm happy for them to look clean but used.
 IMG_2137
 by
tunneruk, on Flickr
 IMG_2138
 by
tunneruk, on Flickr
 IMG_2139
 by
tunneruk, on Flickr
 IMG_2141
 by
tunneruk, on Flickr
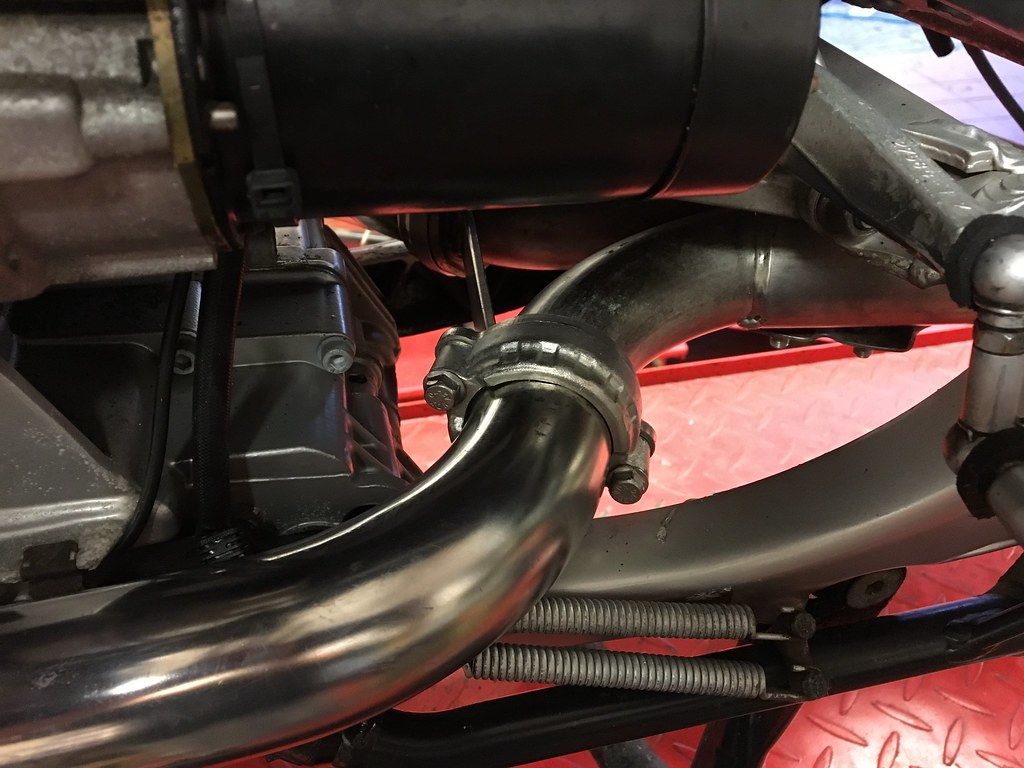
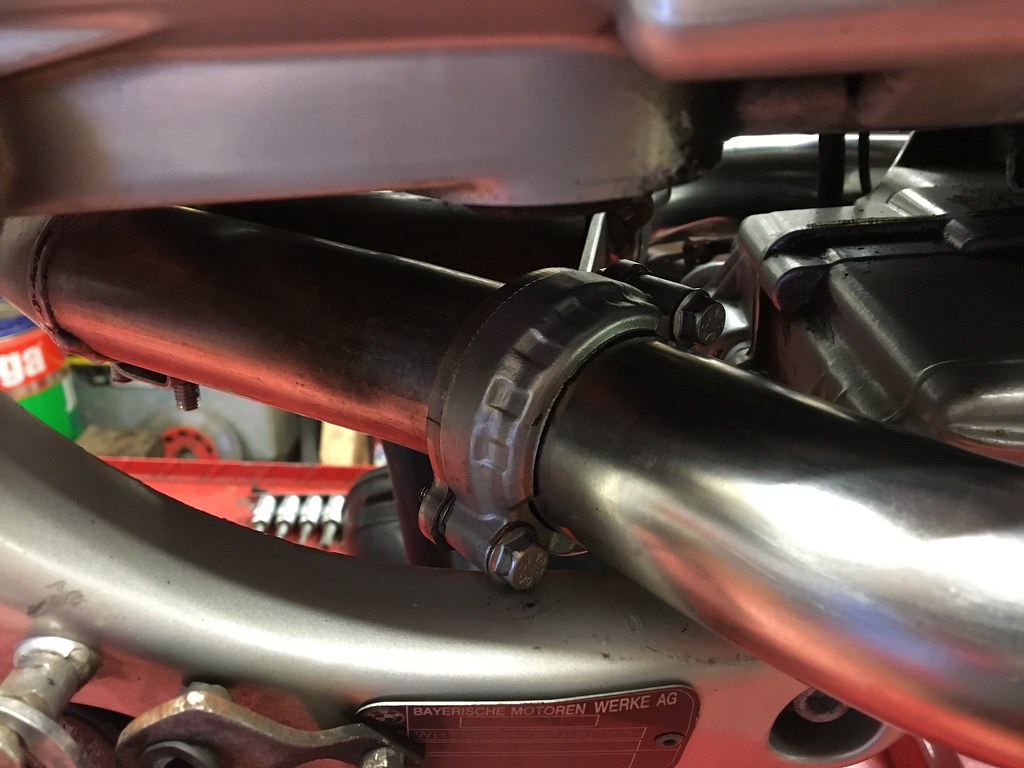
Because I'm a bit of a dick head and because I wanted to run the bike before 9PM I didn't take any photos of the cleaning process :blast But here are some of it fitted ....
 IMG_2169
 by
tunneruk, on Flickr
 IMG_2170
 by
tunneruk, on Flickr
 IMG_2168
 by
tunneruk, on Flickr
 IMG_2171
 by
tunneruk, on Flickr
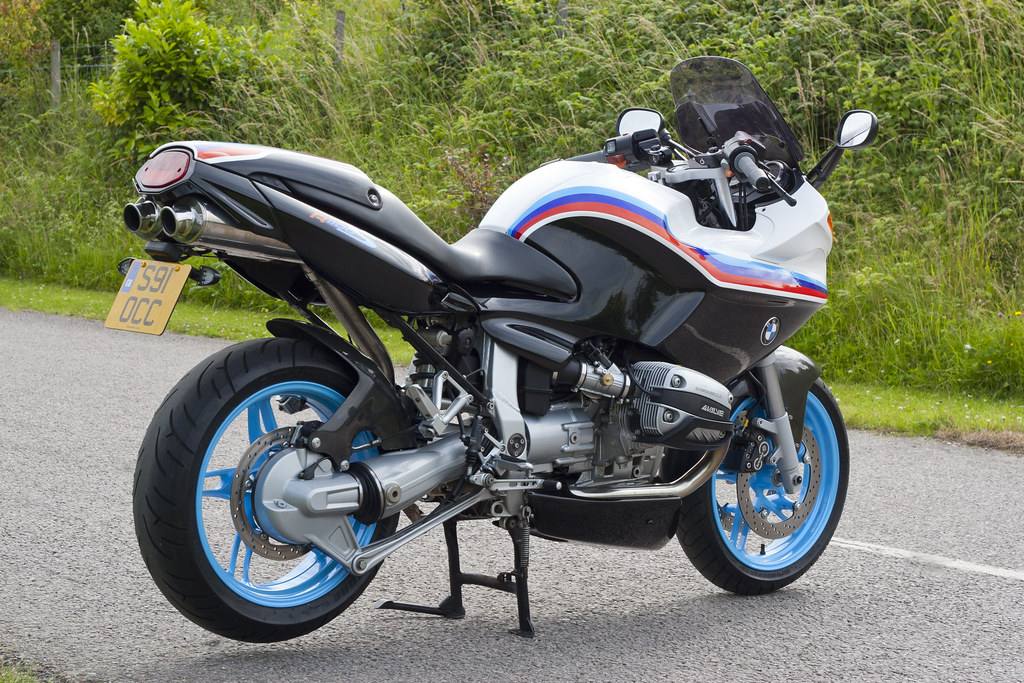
So, if you have crusty stainless headers and you want to clean them up then I can highly recommend Optiglanz, you'll need to put the same amount of effort in as you would cleaning a BBQ grill but I think it's well worth it.
I did start the bike up and the first 10" of the headers turned brown within about 7 seconds
Posted: Tue Jun 28, 2016 9:55 pm
by Tunneruk
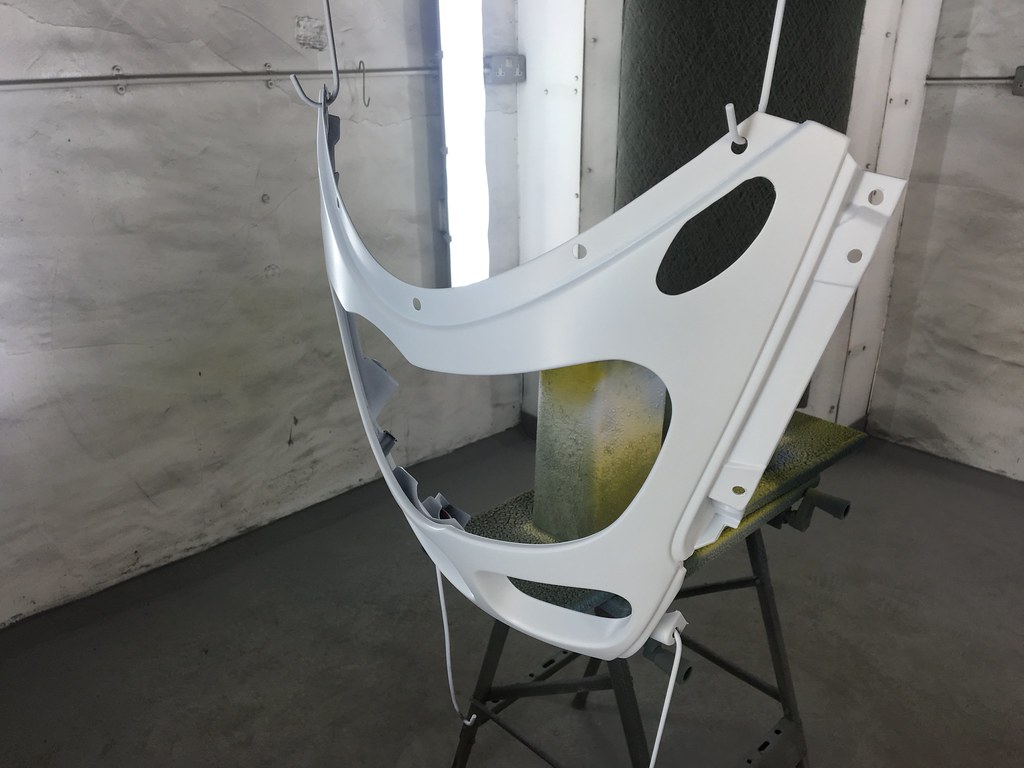
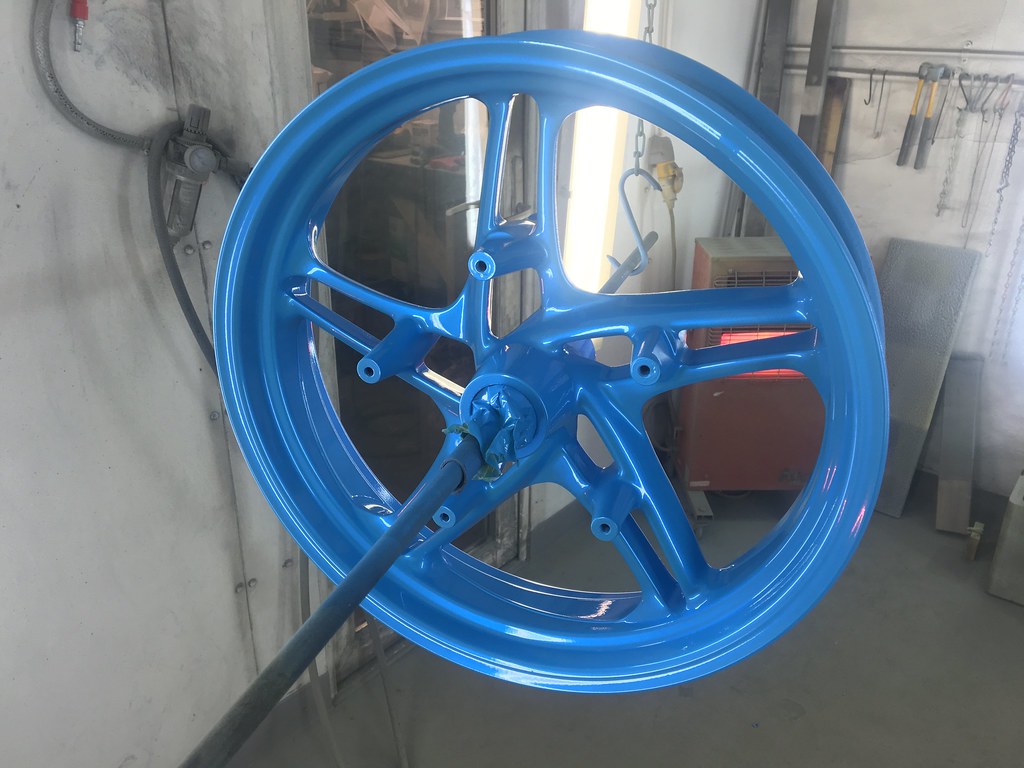
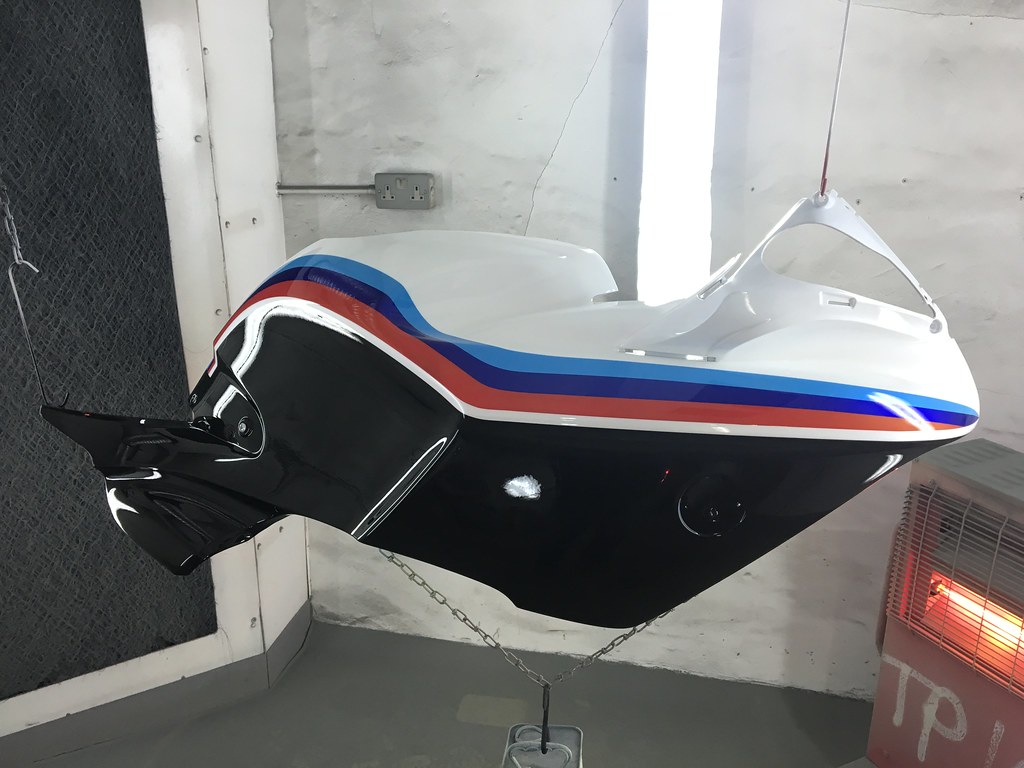
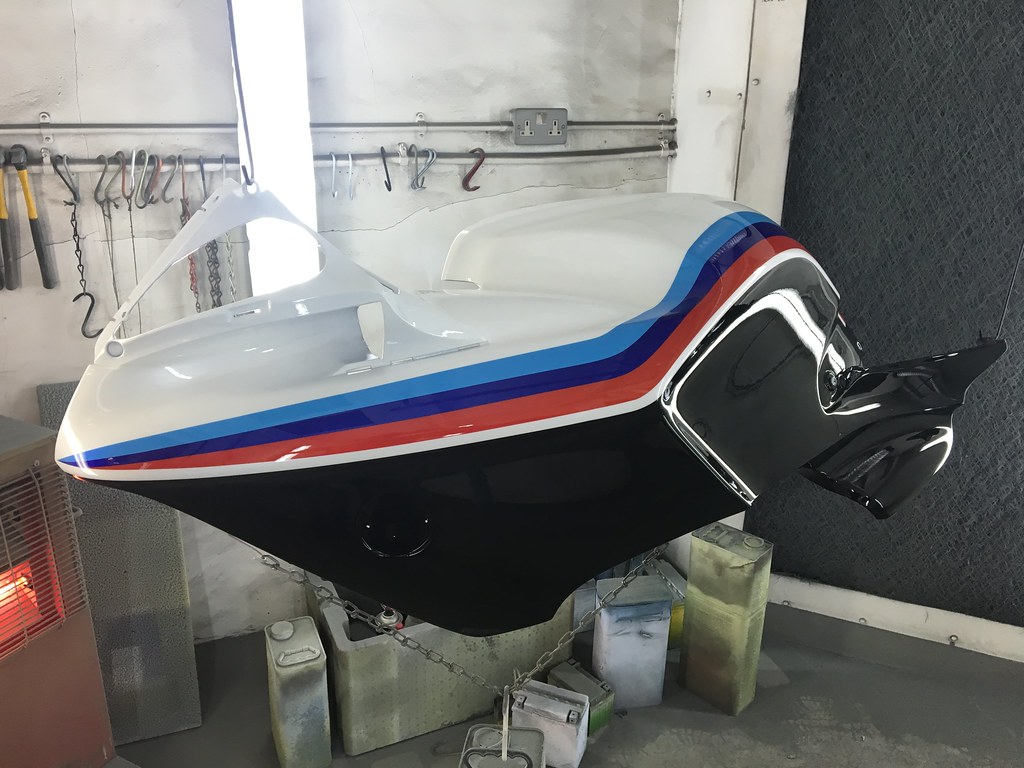
In addition to the exhaust activity I have also been in the booth throwing some paint around.
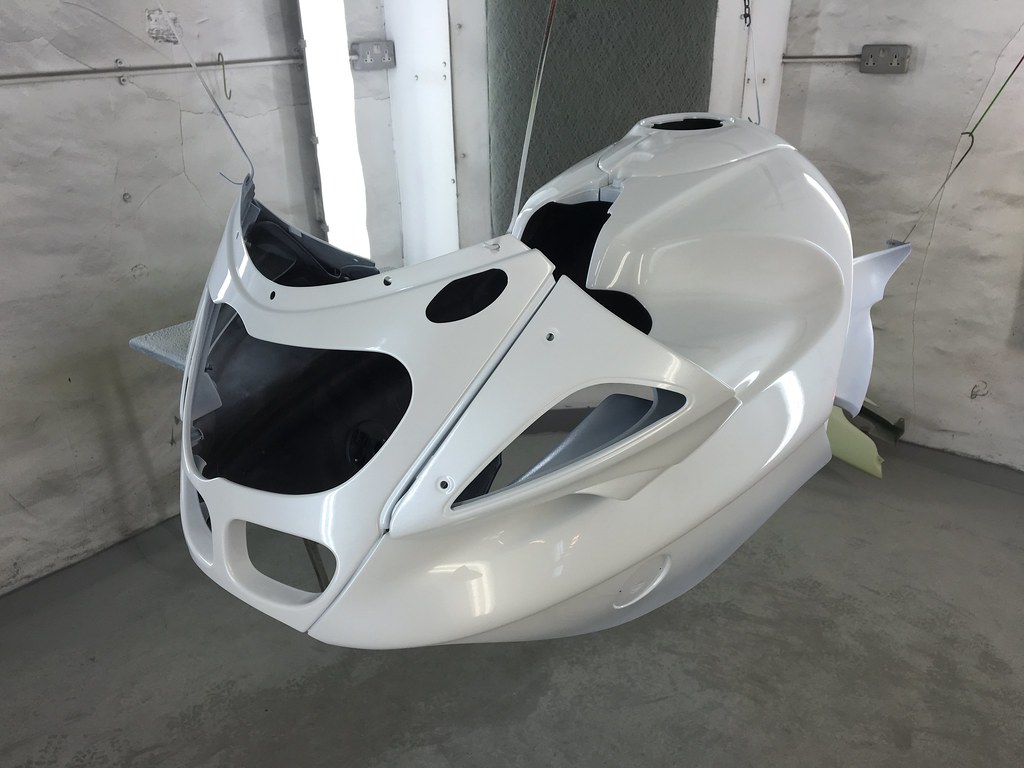
1st up - Base coat white
 IMG_2134
 by
tunneruk, on Flickr
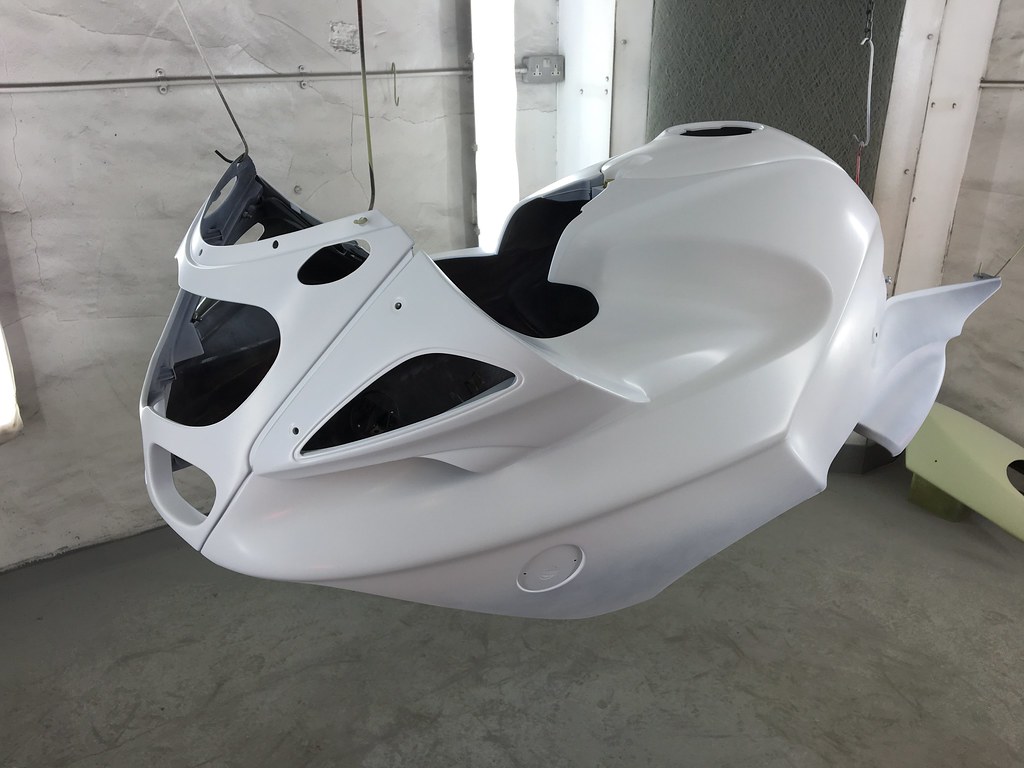
I based up all the parts individually then lightly assembled them and gave the whole lot a liberal single coat, just to ensure that all the panels were an even shade
 IMG_2142
 by
tunneruk, on Flickr
 IMG_2146
 by
tunneruk, on Flickr
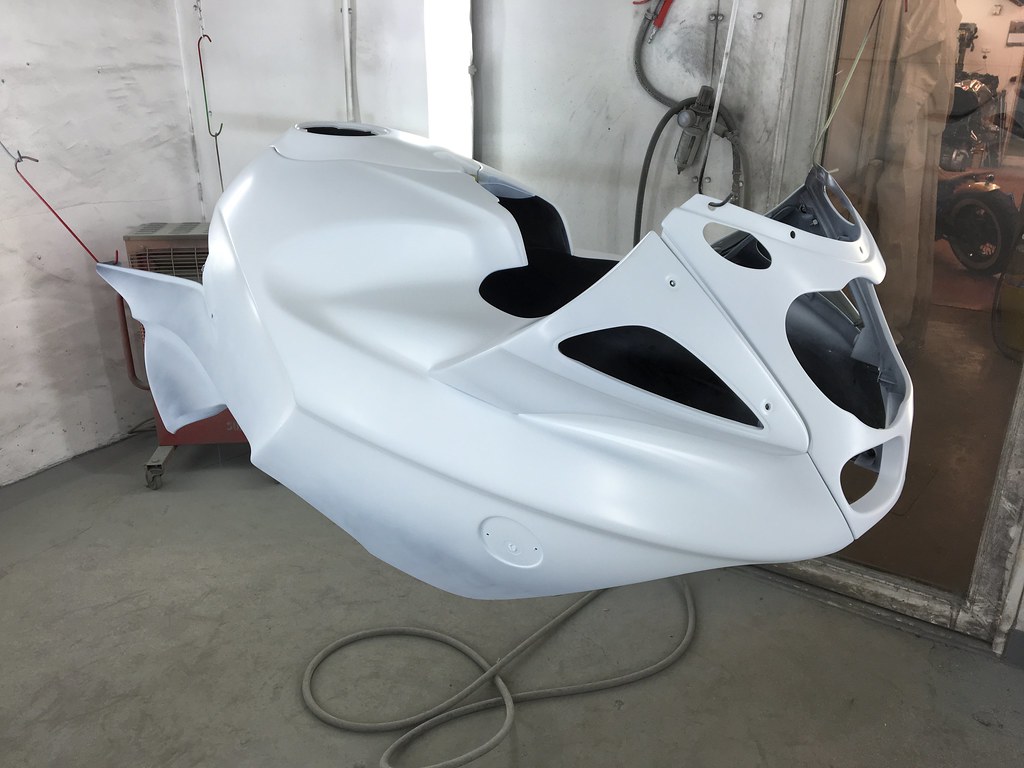
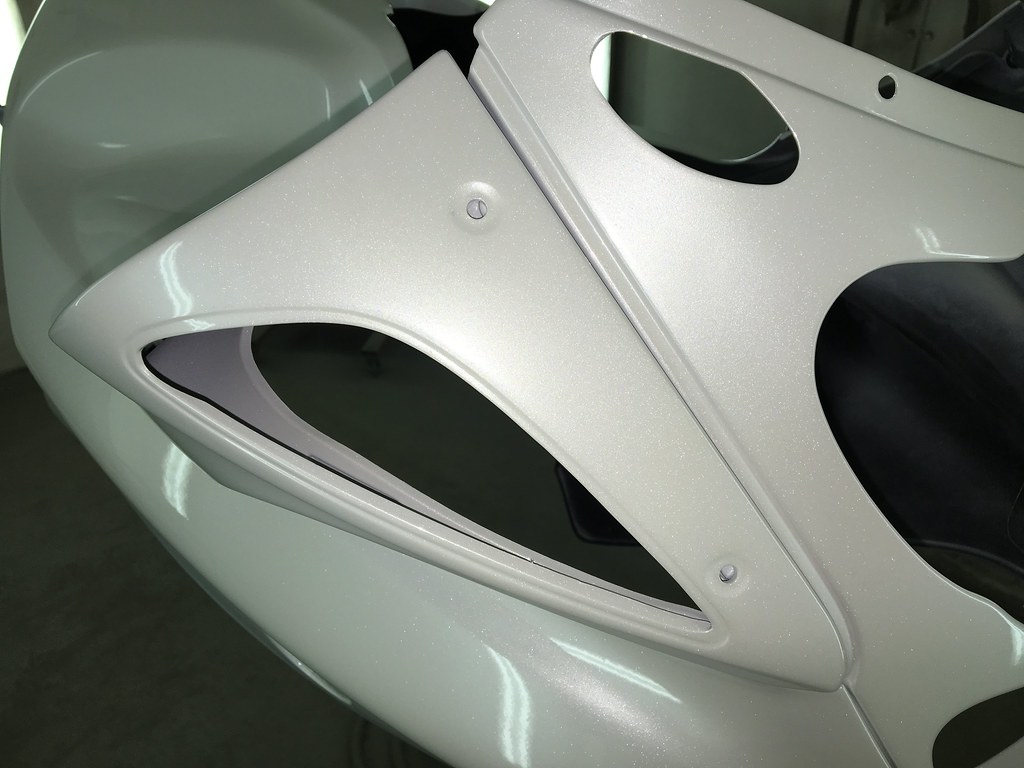
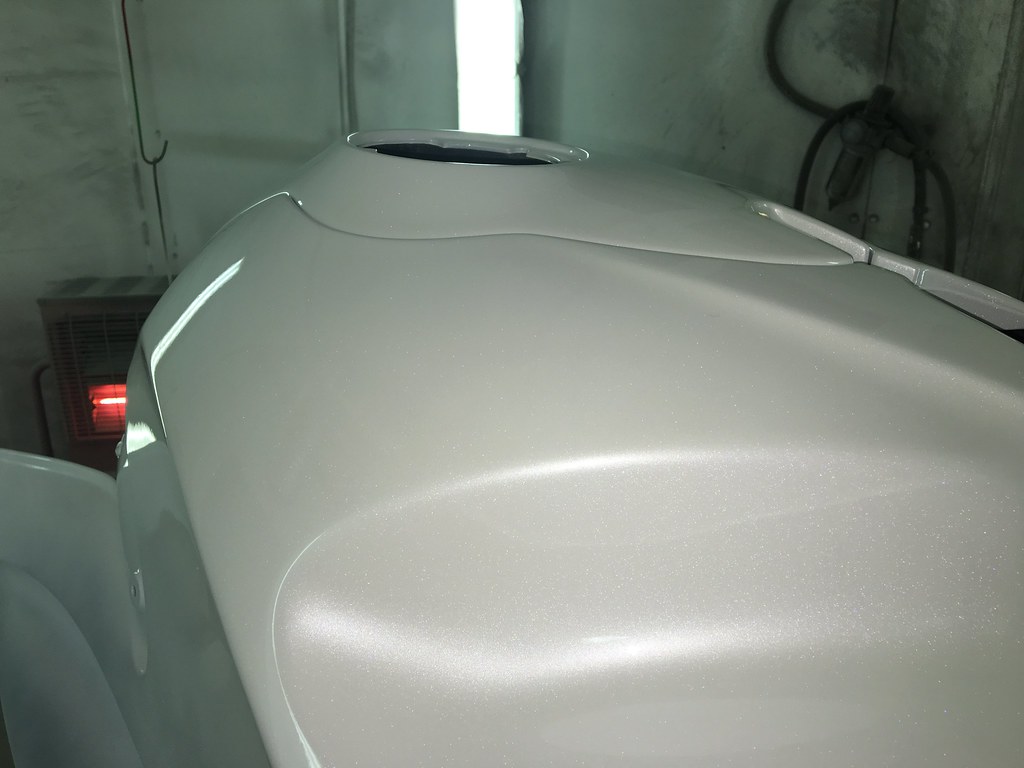
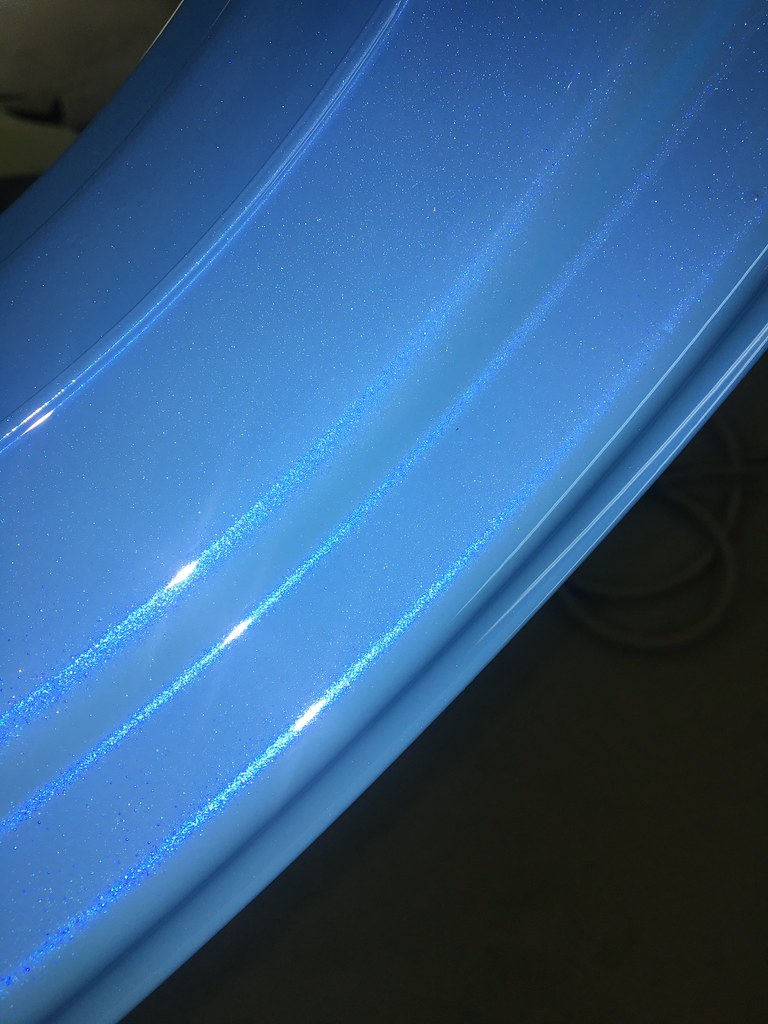
Once the final base white had had a 20 minute bake I went over it all again with two coats of white pearl base (I would put a photo up but it wouldn't look any different to the photo above.
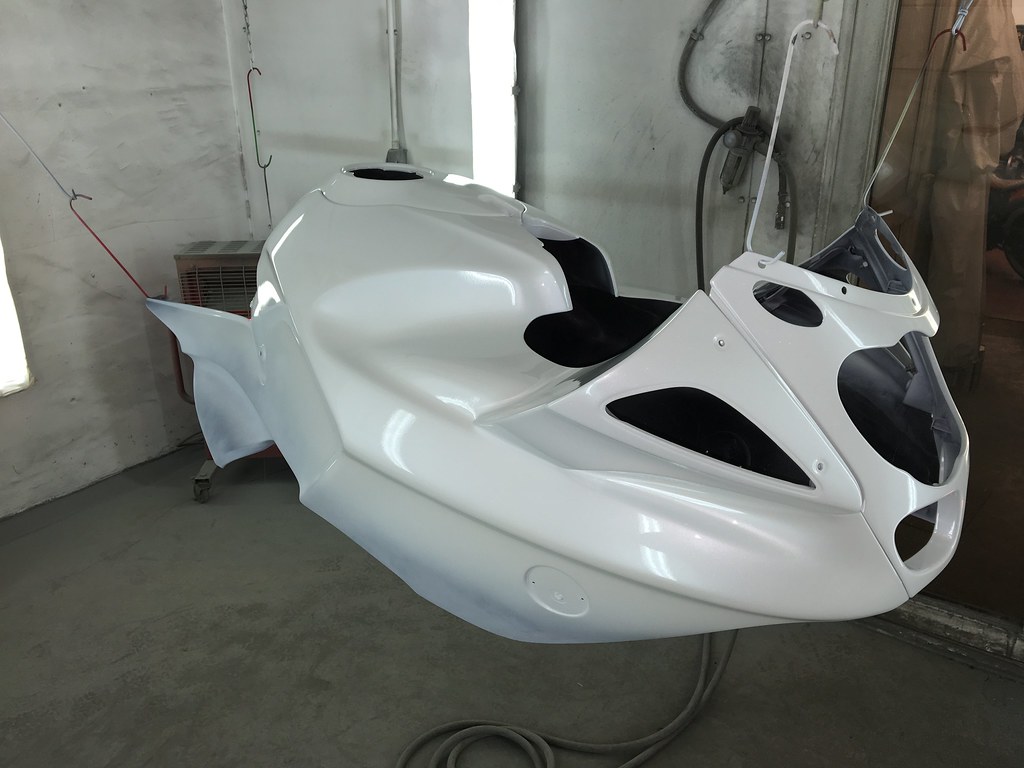
This then got another 20 minute bake while I reconfigured my Iwata and started mixing up my clear coat concoction. In order to give the white depth I have added both blue and white xiralic to the clear coat.
 IMG_2167
 by
tunneruk, on Flickr
 IMG_2164
 by
tunneruk, on Flickr
 IMG_2161
 by
tunneruk, on Flickr
 IMG_2157
 by
tunneruk, on Flickr
I do have a twinge of doubt about the colour of the indicator pods, they're ordinarily just textured black plastic. I will build the bike up and see how I feel, there's every possibility that they may receive further attention!
Posted: Tue Jun 28, 2016 11:11 pm
by victorlaszlo
Is the optiglanz that much easier than some wet and dry? Did that on my headers and only took 20 min or so... Although only did the visible parts
Posted: Wed Jun 29, 2016 7:37 am
by Tunneruk
victorlaszlo wrote:Is the optiglanz that much easier than some wet and dry? Did that on my headers and only took 20 min or so... Although only did the visible parts
I would say infinitely easier. Give it a 5 minute soak, quick scrub with a brush and rinse.
Posted: Fri Jul 01, 2016 3:21 am
by Duane
Looking good!
Posted: Sun Jul 03, 2016 3:30 pm
by Tunneruk
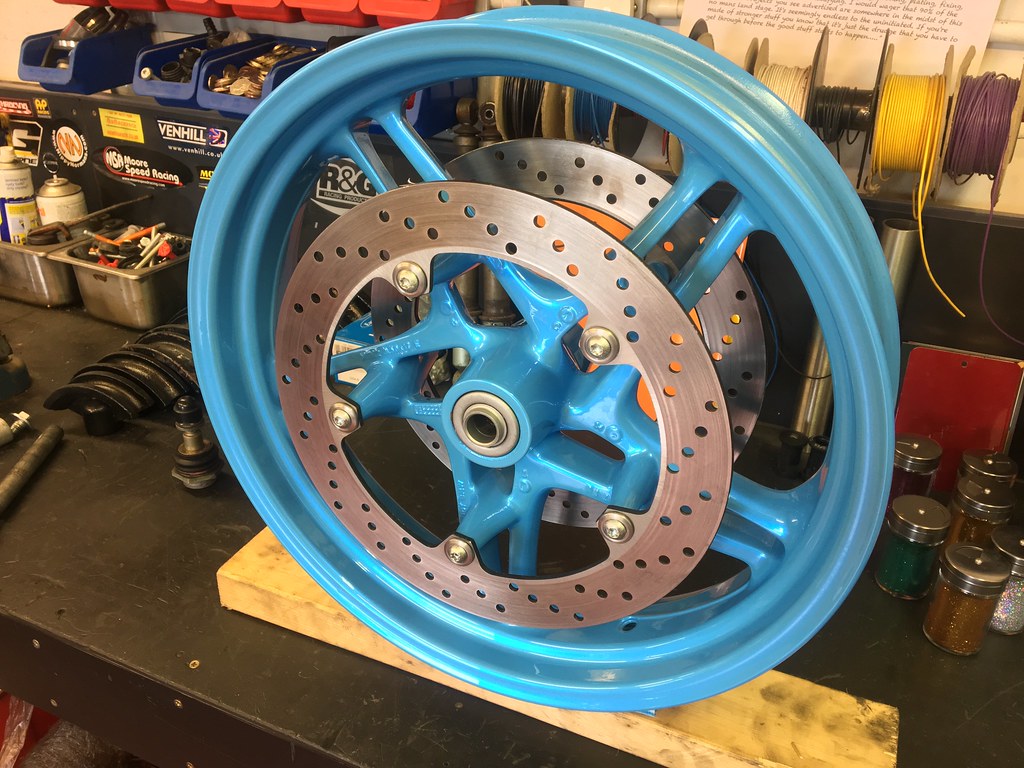
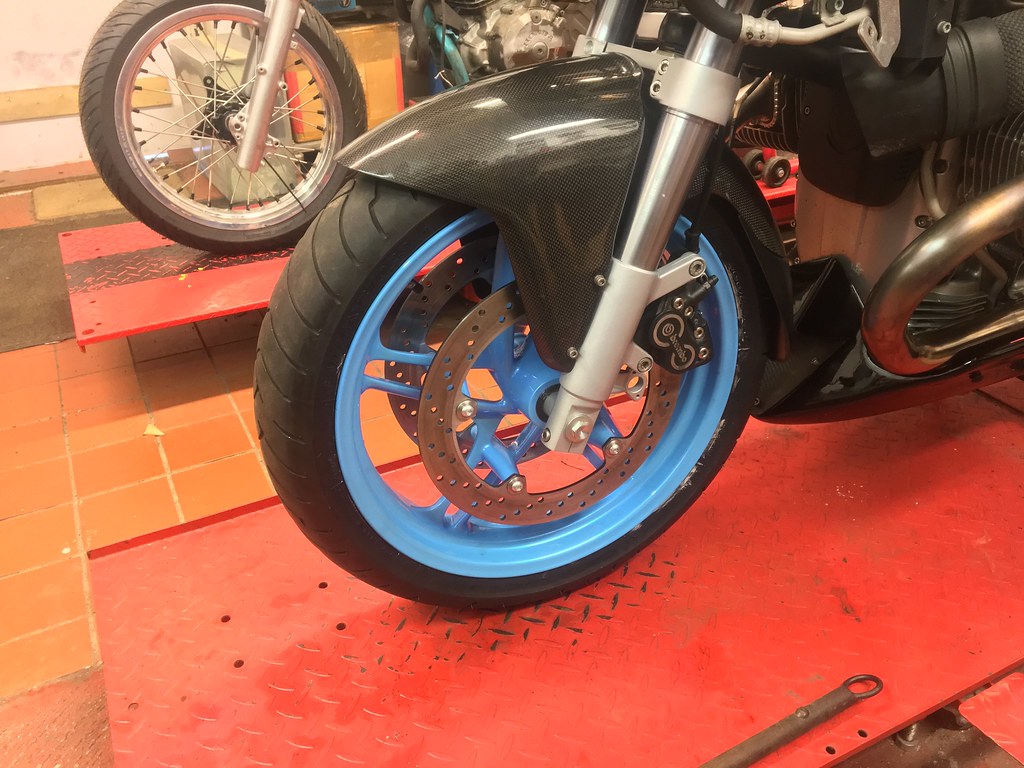
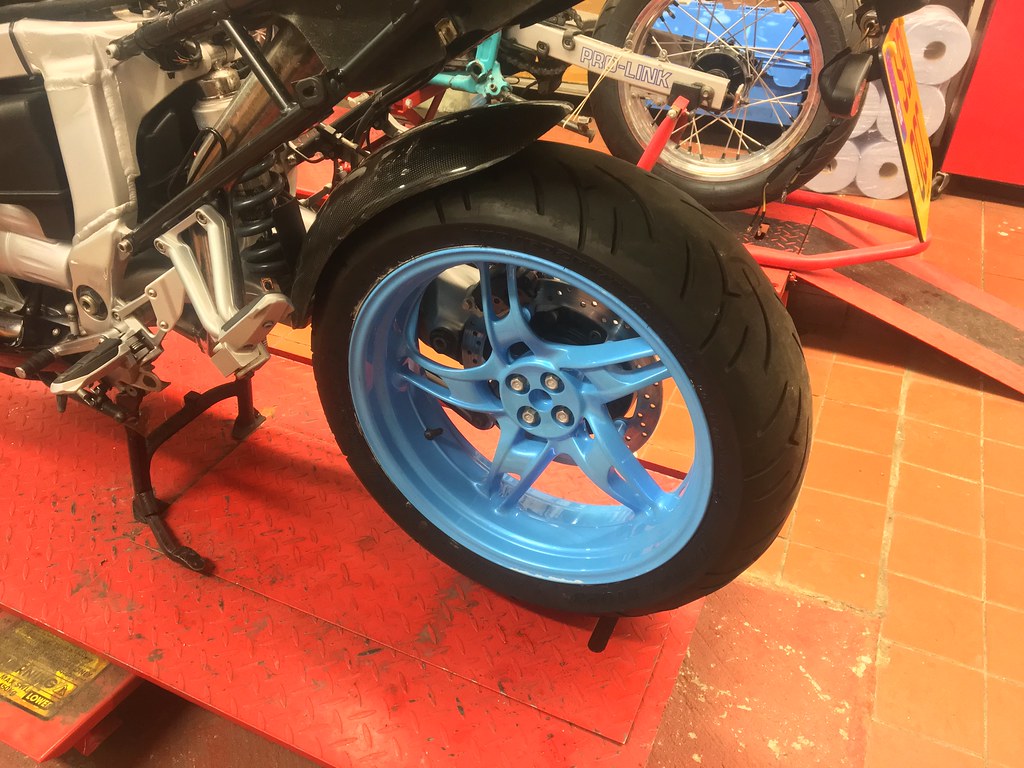
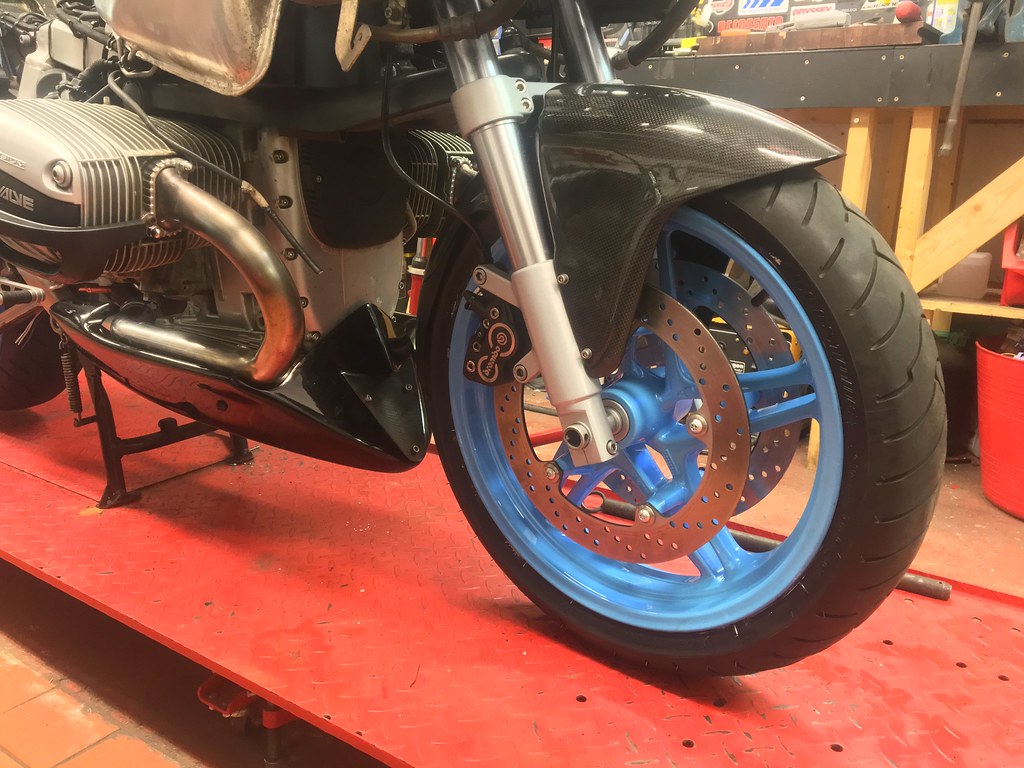
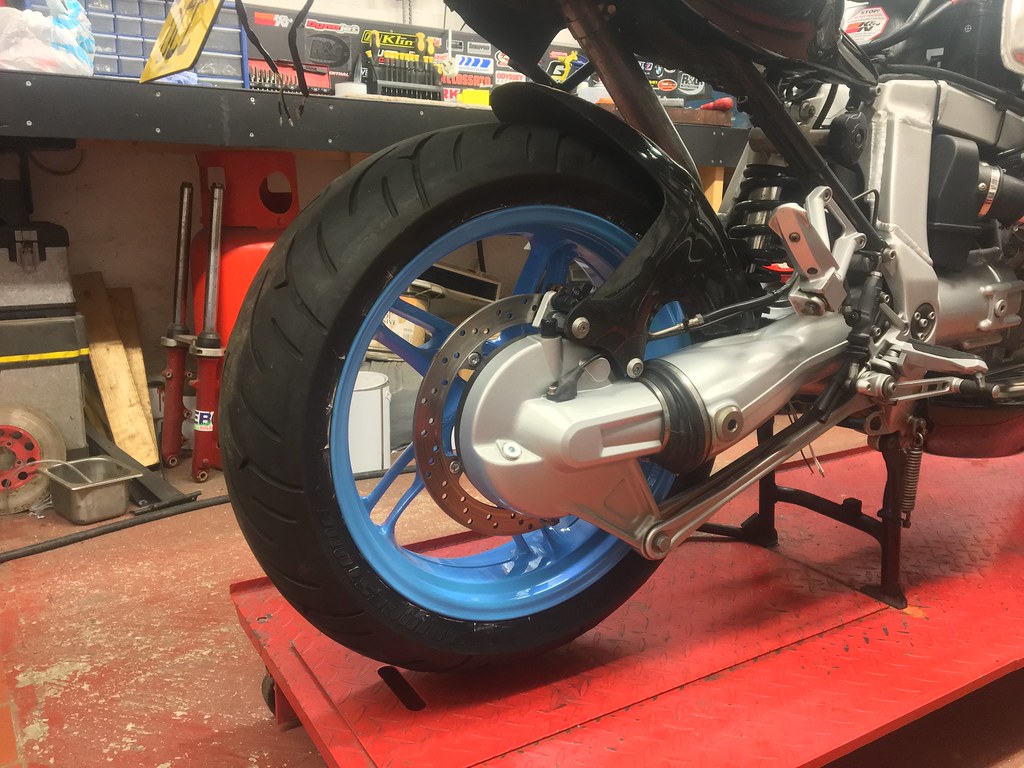
Well things have been moving along at CT HQ.
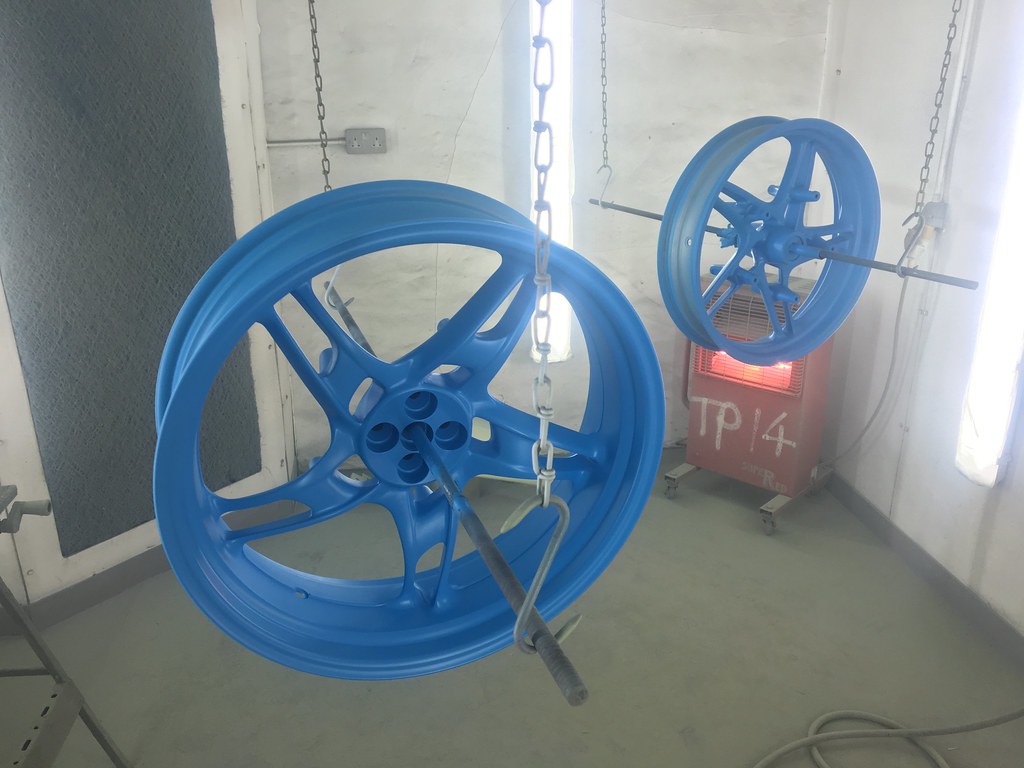
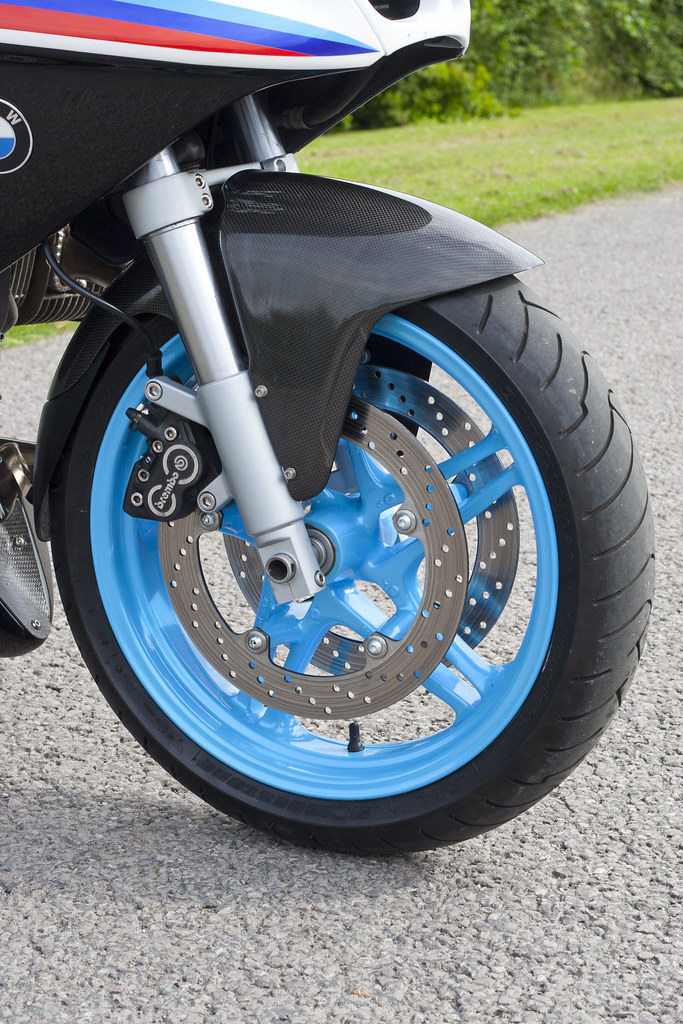
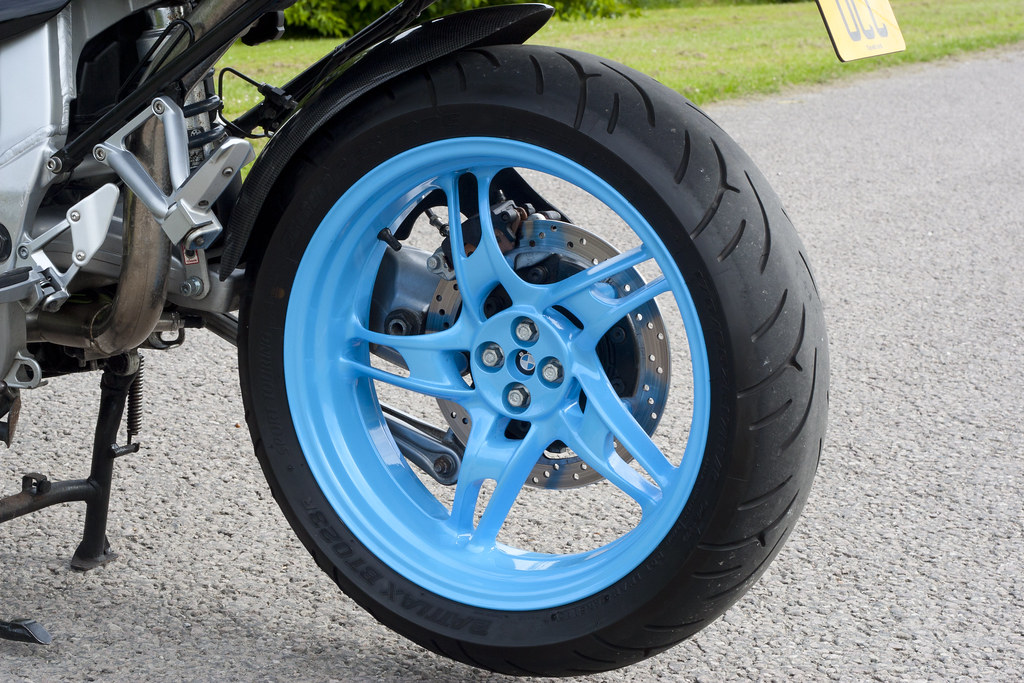
I got the fork lowers and bottom yoke prepped and painted, got some bits and pieces plated. Prepped and painted the wheels and got her back on her wheels.
 IMG_2179
 by
tunneruk, on Flickr
 IMG_2181
 by
tunneruk, on Flickr
 IMG_2186
 by
tunneruk, on Flickr
 IMG_2193
 by
tunneruk, on Flickr
 IMG_2212
 by
tunneruk, on Flickr
 IMG_2210
 by
tunneruk, on Flickr
 IMG_2214
 by
tunneruk, on Flickr
 IMG_2216
 by
tunneruk, on Flickr
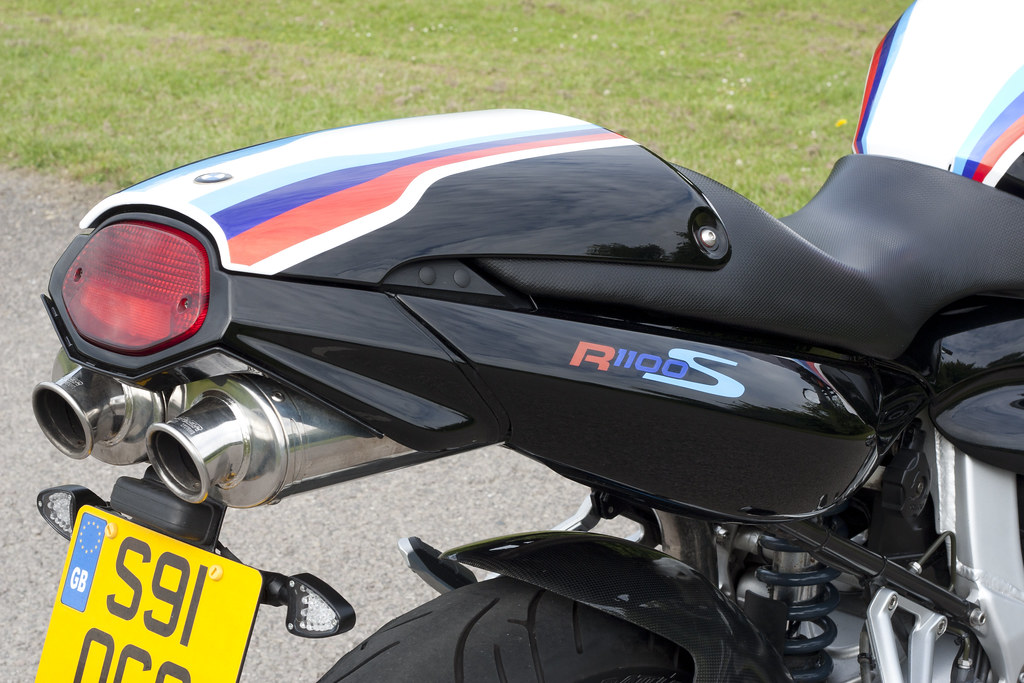
I fitted some Billet Alloy indicators (to the already fitted tail tidy)
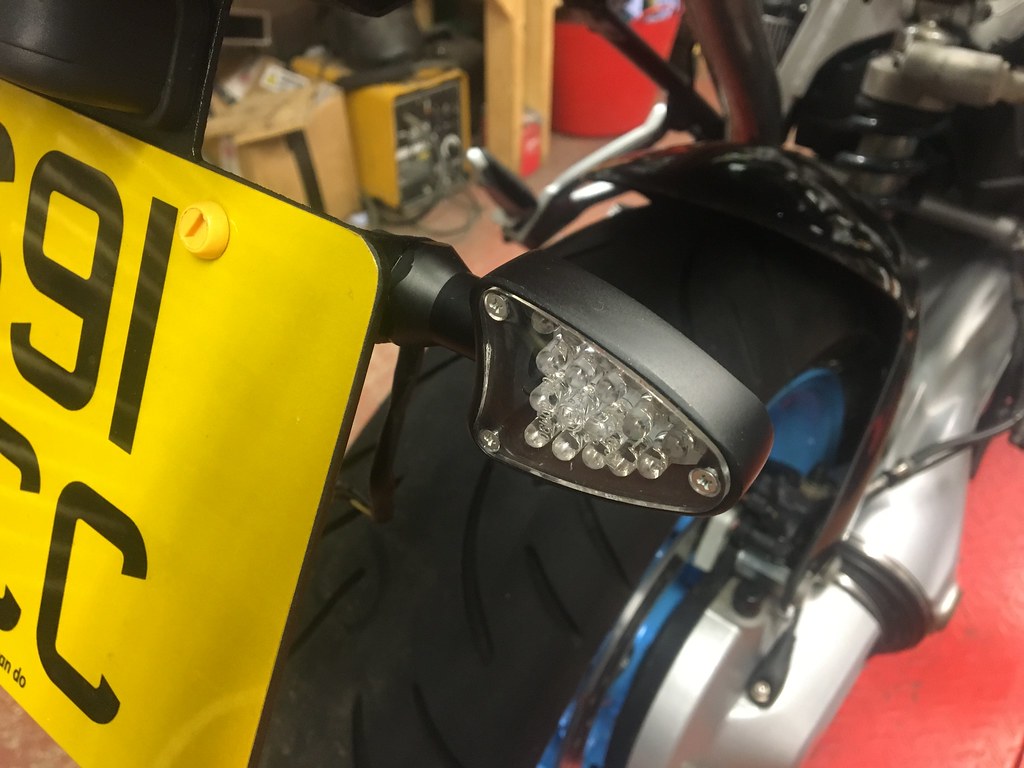 IMG_2205
 by
tunneruk, on Flickr
And some Rental Grips (I will be repainting the bar ends before
)
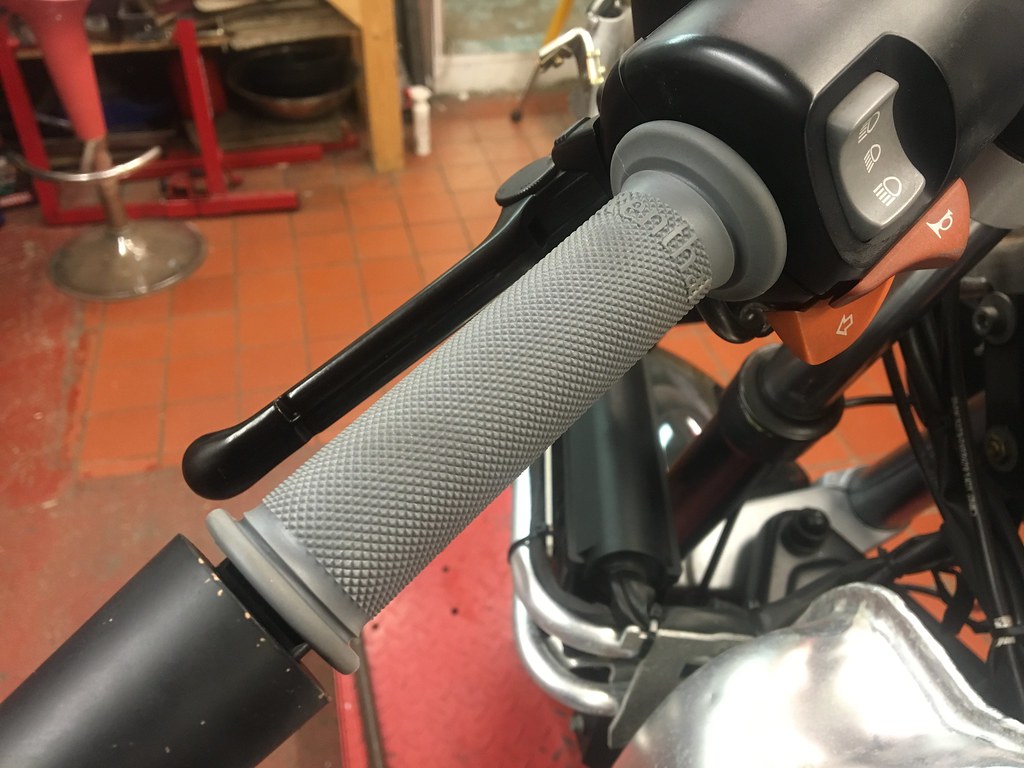 IMG_2207
 by
tunneruk, on Flickr
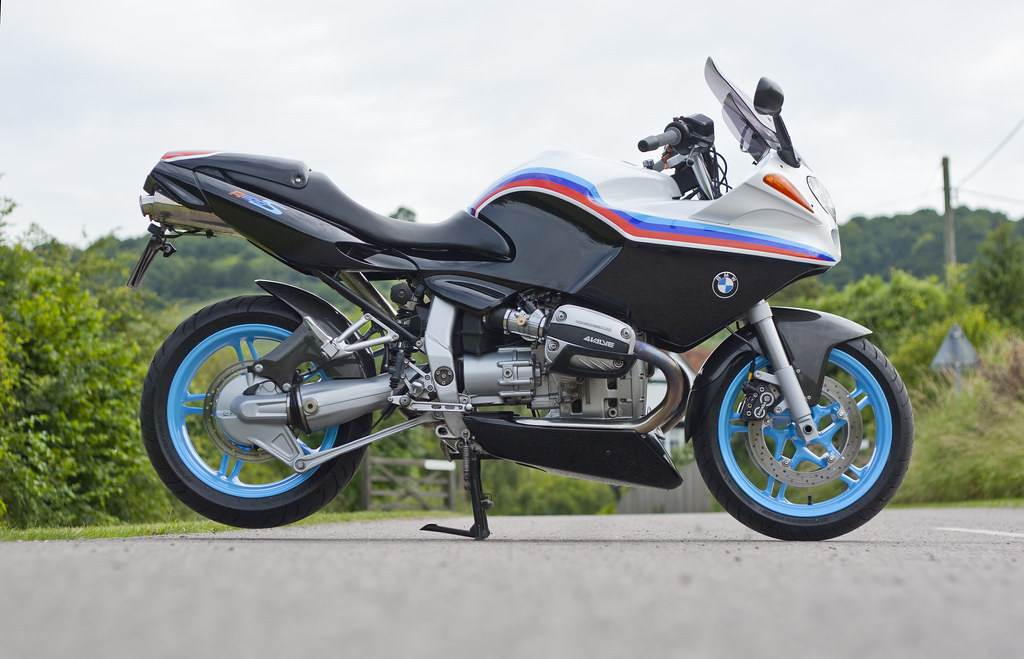
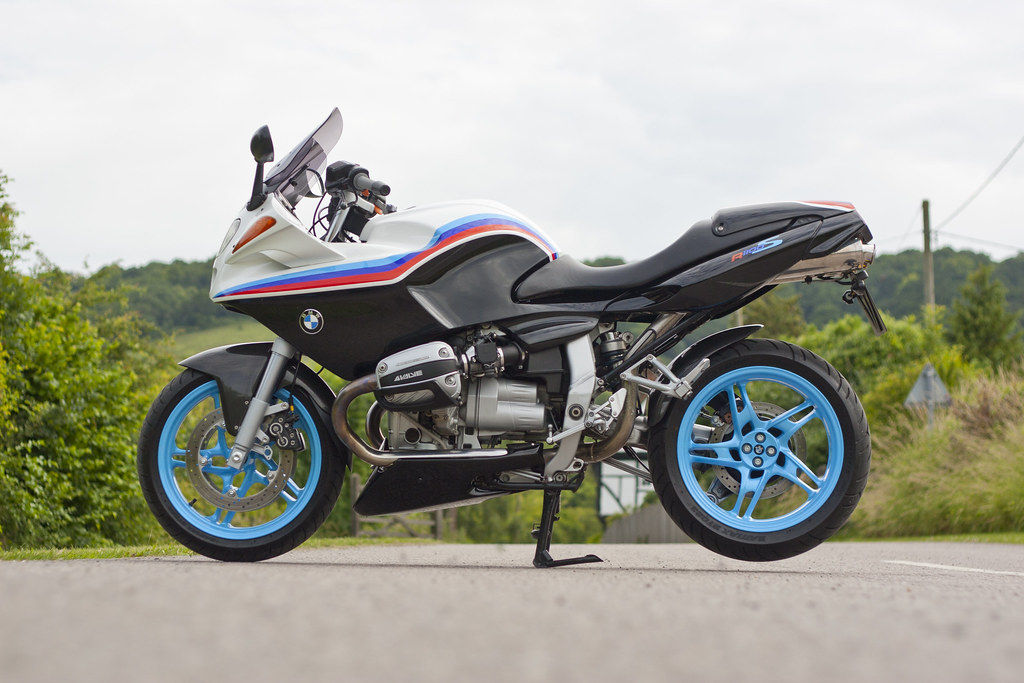
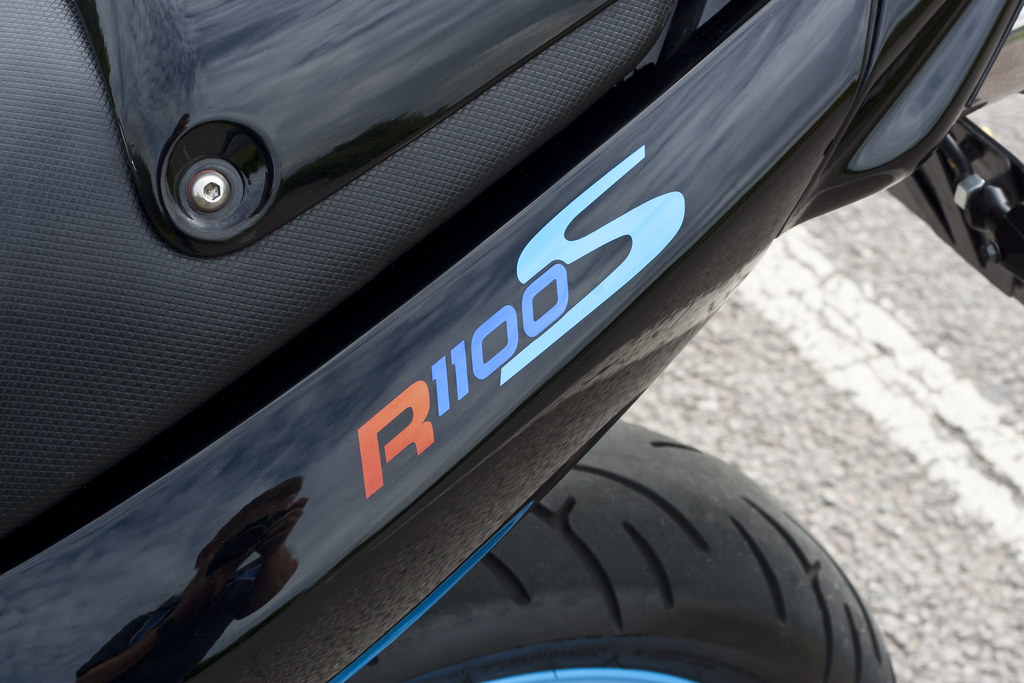
I've adapted a modern K1300S logo and used painted it in with the same BMW motorsport colours, It's fairly subtle but seems to work well.
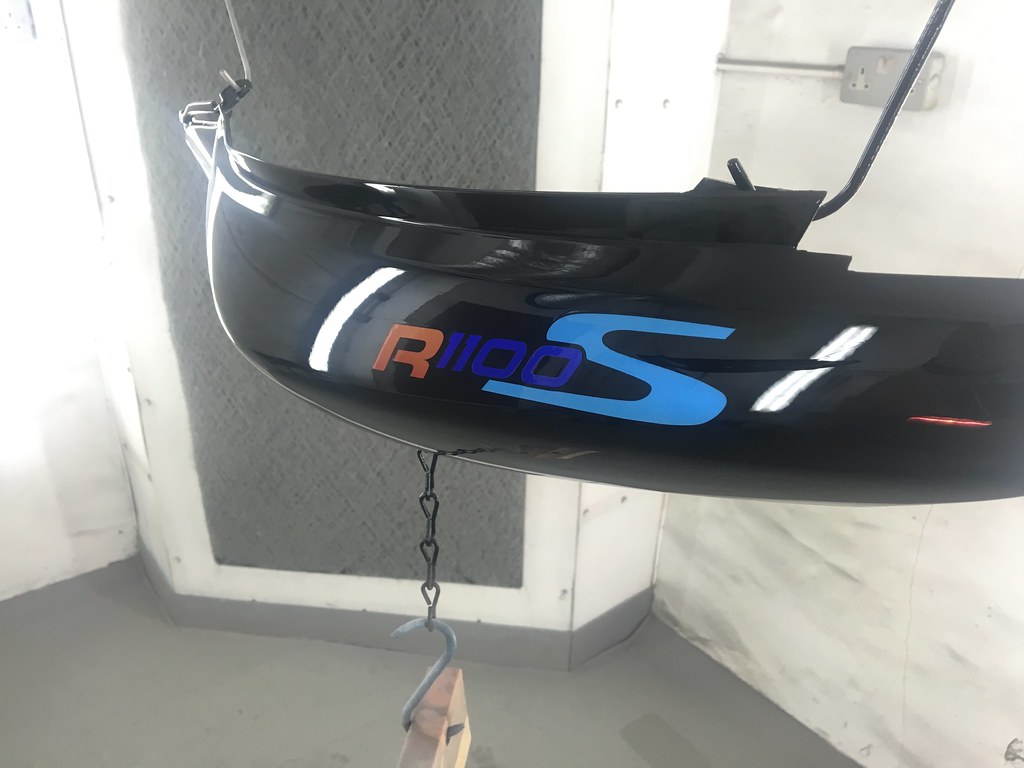 IMG_2175
 by
tunneruk, on Flickr
 IMG_2177
 by
tunneruk, on Flickr
 IMG_2204
 by
tunneruk, on Flickr
I've repainted all the black bits of the bike in a metallic that is my own recipe, The belly pan was really knocked about so I wrestled it into submission and got it looking nice
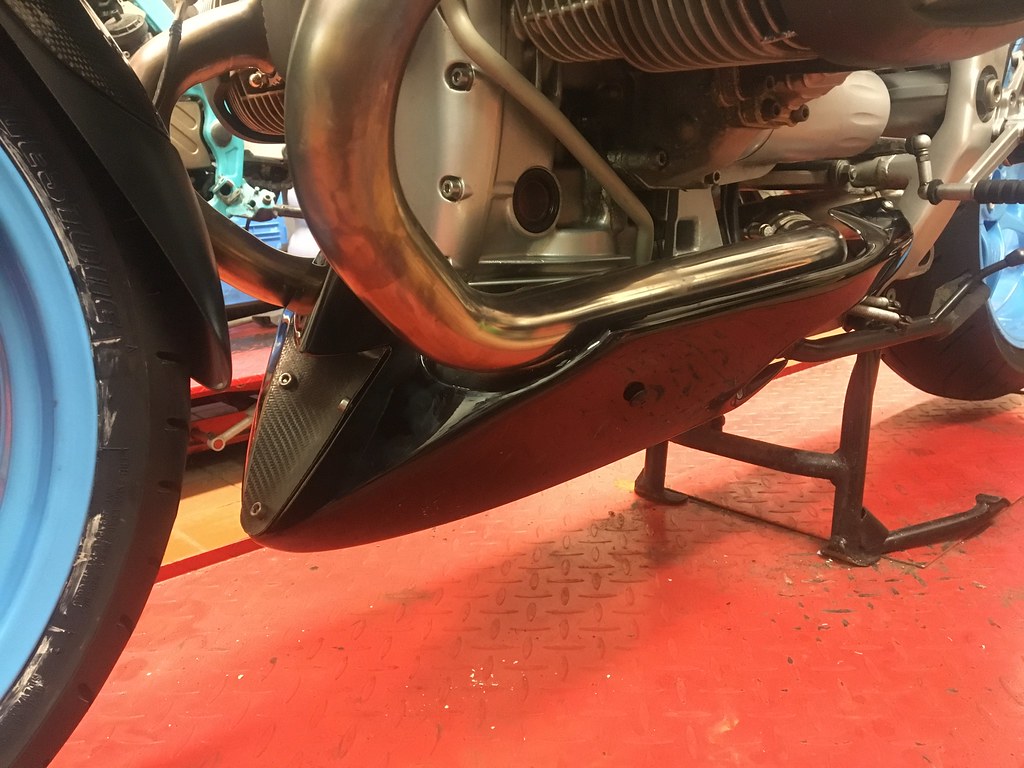 IMG_2206
 by
tunneruk, on Flickr
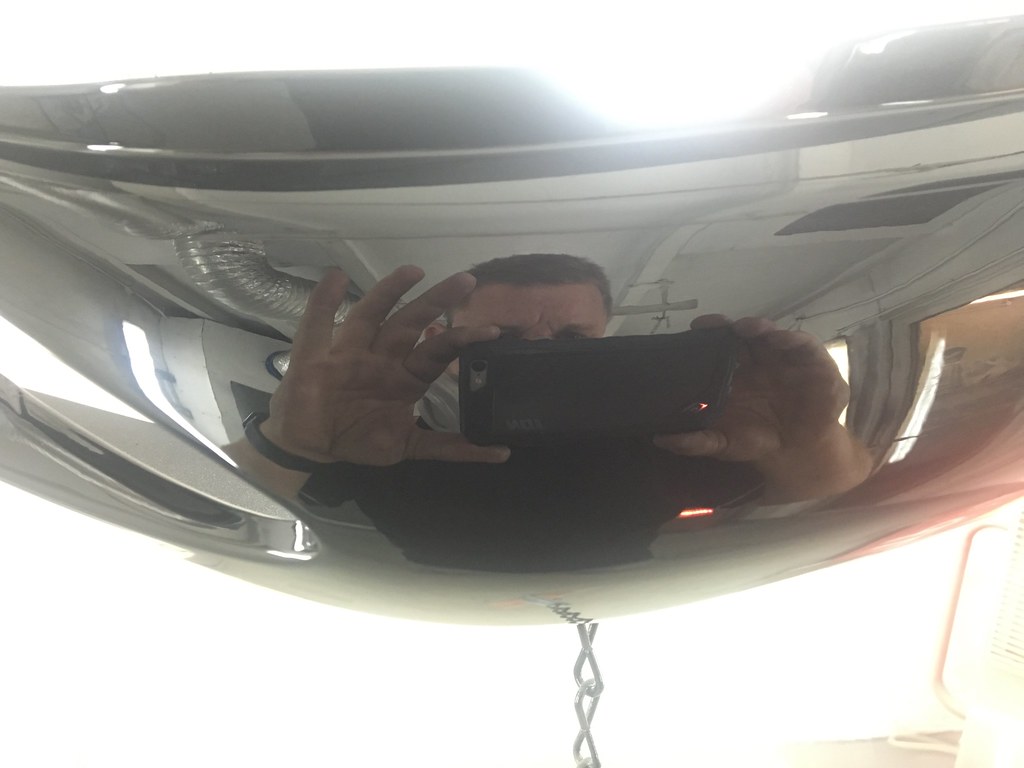
I have also been applying the second and third coats of clear to all the individual panels which were painted as an assembly during the week. There's bloody miles of it!
Posted: Thu Jul 07, 2016 9:31 am
by Tunneruk
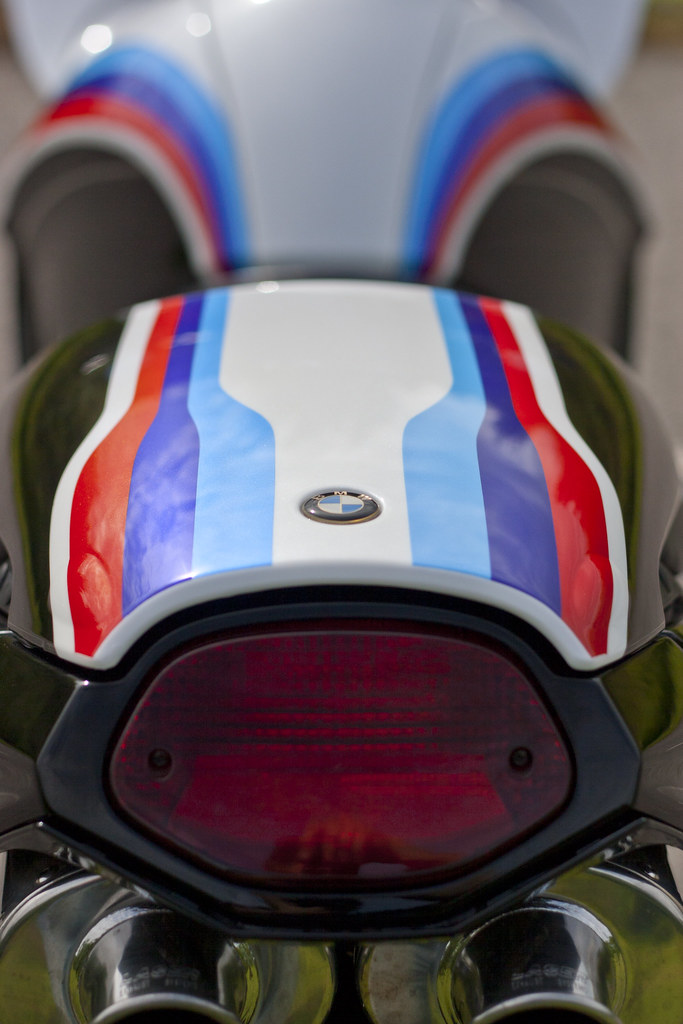
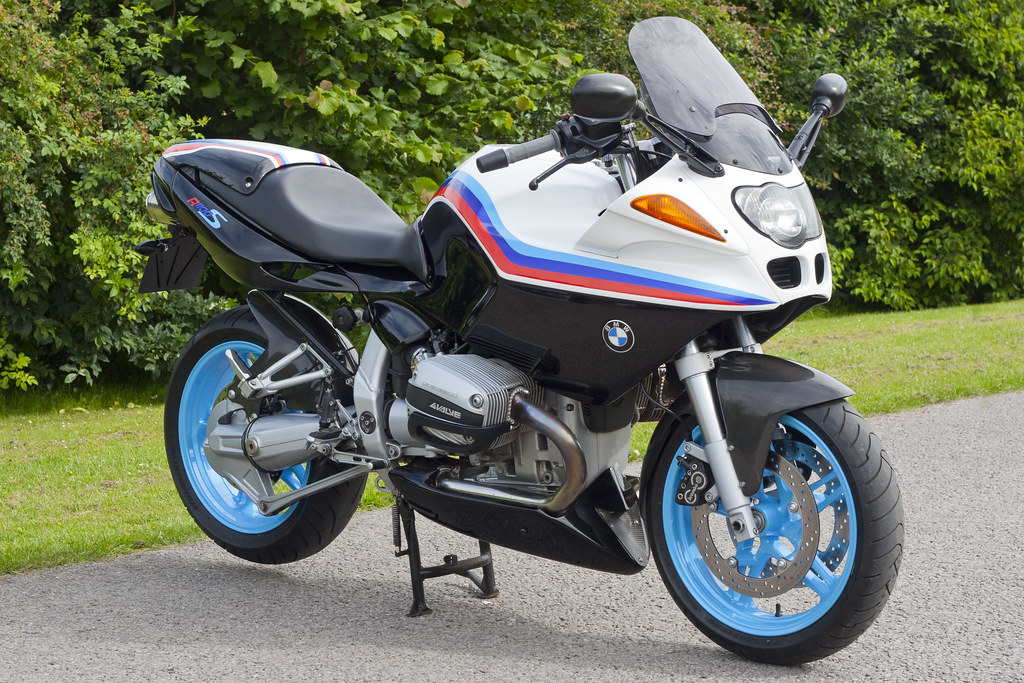
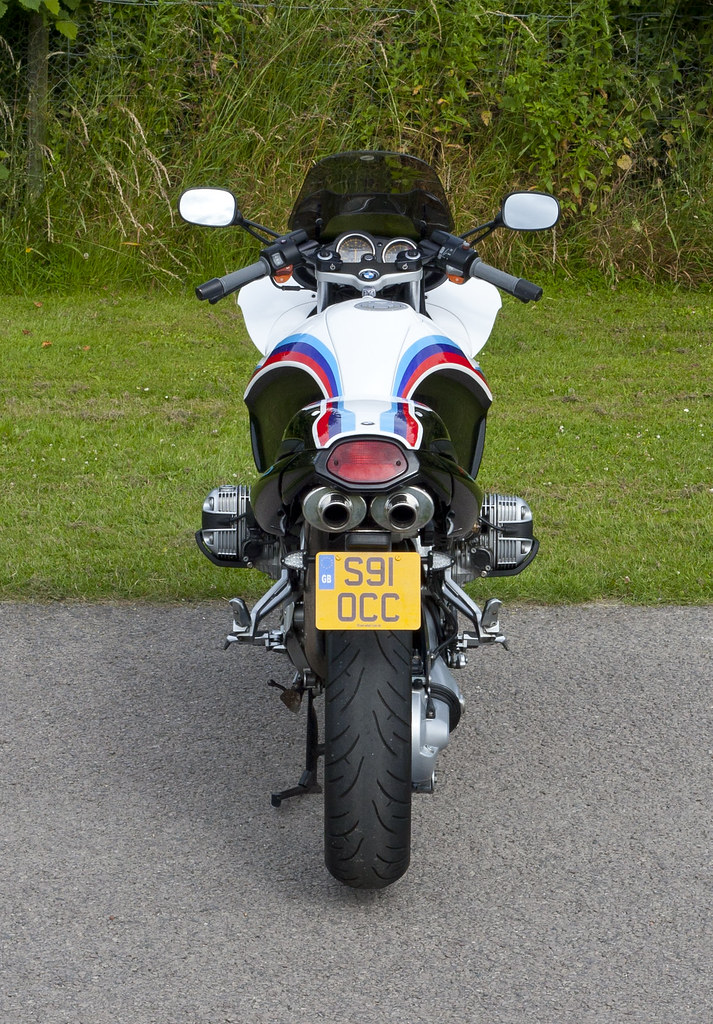
Well .... She's finished
 Untitled
 by
tunneruk, on Flickr
 Untitled
 by
tunneruk, on Flickr
 _MG_8685
 by
tunneruk, on Flickr
 _MG_8727
 by
tunneruk, on Flickr
 _MG_8701
 by
tunneruk, on Flickr
 _MG_8692
 by
tunneruk, on Flickr
 _MG_8691
 by
tunneruk, on Flickr
 _MG_8695
 by
tunneruk, on Flickr
 _MG_8714
 by
tunneruk, on Flickr
 _MG_8721
 by
tunneruk, on Flickr
 _MG_8717
 by
tunneruk, on Flickr
 _MG_8713
 by
tunneruk, on Flickr
Posted: Thu Jul 07, 2016 11:11 am
by dave the german
I hadn't noticed the indicator pods on the other post but I think they really do fit in with the colour scheme - cracking job
Posted: Mon Jul 11, 2016 7:54 am
by boxerscott
Great Post. Well done!

Posted: Mon Jul 11, 2016 11:08 am
by victorlaszlo
Looks ace - how much for doing that to mine?
Posted: Mon Jul 11, 2016 6:11 pm
by Tunneruk
victorlaszlo wrote:Looks ace - how much for doing that to mine?
Honestly .... you don't want to know!
